jTegaki
jTegaki allows users to input stroke information through a GUI and outputs non-language dependent stroke information in XML format.
This GUI Tool is published from: https://github.com/asdfjkl/kanjicanvas#adding-new-refpatterns
Installation
It is bundled in @tecack/tools.
$ npm add -D @tecack/tools$ npm add -D @tecack/tools$ pnpm add -D @tecack/tools$ pnpm add -D @tecack/tools$ yarn add -D @tecack/tools$ yarn add -D @tecack/tools$ bun add -D @tecack/tools$ bun add -D @tecack/toolsInstall Java
jTegaki launches its GUI from the CLI.
While the CLI operates on Node.js, the GUI tool itself is made with Java.
Thus, please prepare an environment that can execute .jar files.
https://www.java.com/en/download/help/download_options.html
Usage
1. Launch jTegaki
Once you've installed @tecack/tool, you can use the tecack command.
When you pass jTegaki as an argument to the tecack command and run it, the GUI tool will open.
// package.json
{
  "scripts": {
    "jTegaki": "tecack jTegaki"
  }
}
// package.json
{
"scripts": {
"jTegaki": "tecack jTegaki"
}
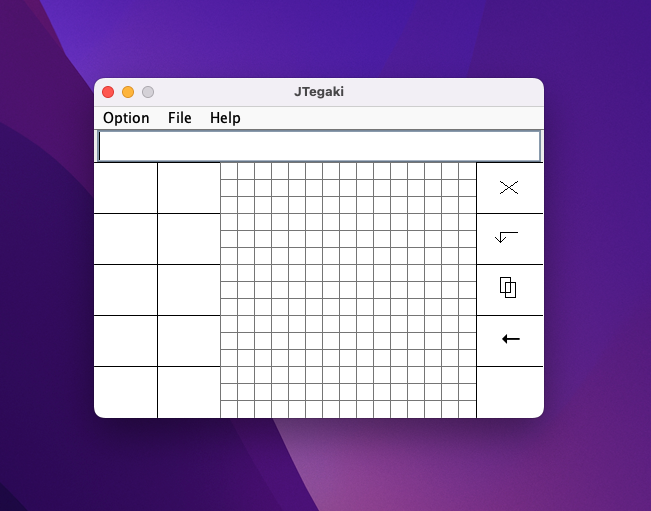
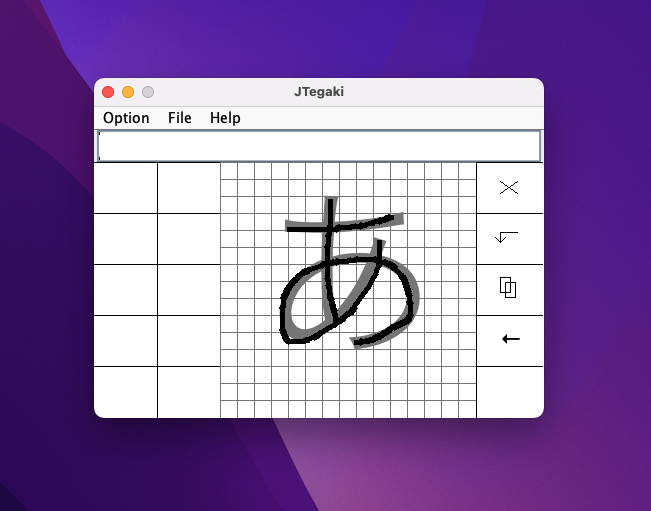
}Once launched, you should see a window like the one below:
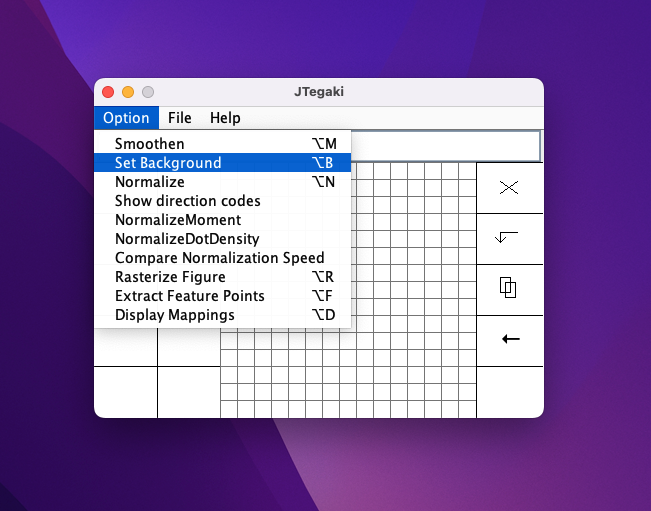
2. Set a Background Image
From the top toolbar of jTegaki, choose Option > Set Background.
(You can also use option + B)
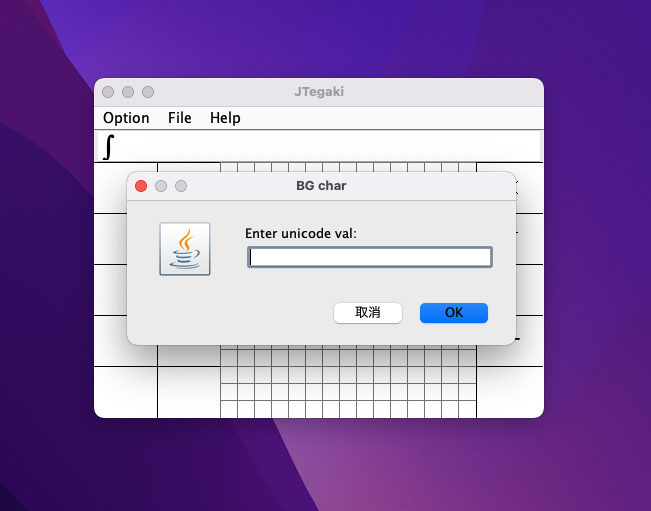
 A window will appear asking for a Unicode input. Enter the Unicode of the character you want to add.
For this example, we'll input "あ (3042)".
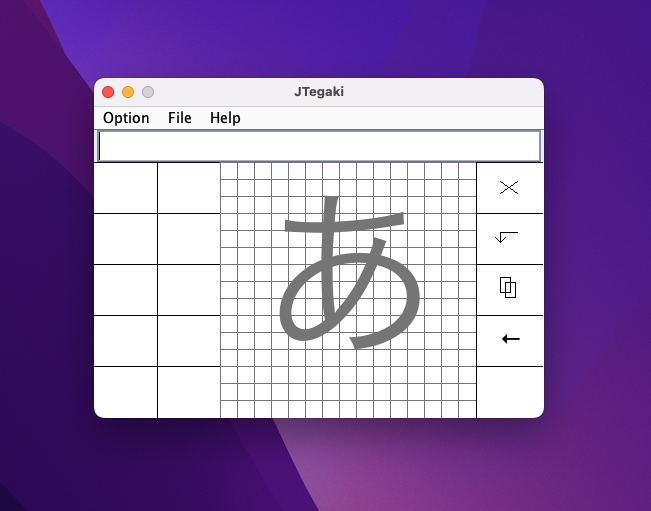
 Once you press OK, "あ" will be set as the background image.
3. Input Stroke Information
Referring to the background image, make strokes on the Canvas.
During this process, information about the stroke count and writing order is saved as well, so be careful not to make mistakes.
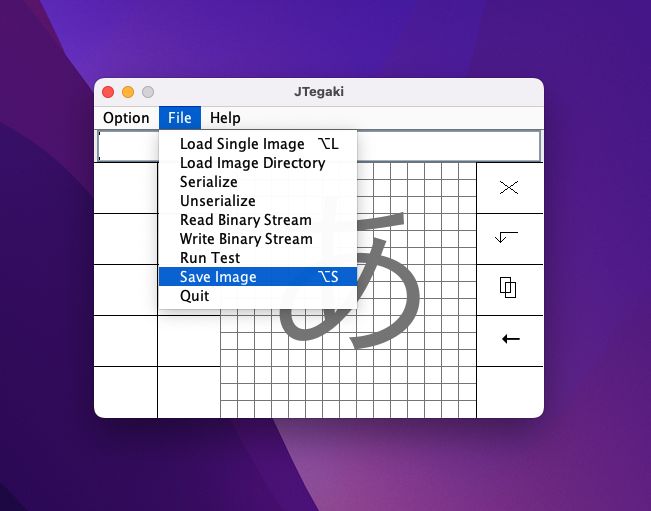
4. Save to File
From the top toolbar, choose File > Save Image.
(You can also use option + S)
 Save the file with the name
 ${unicode}.xml.
For this example, it would be 3042.xml.
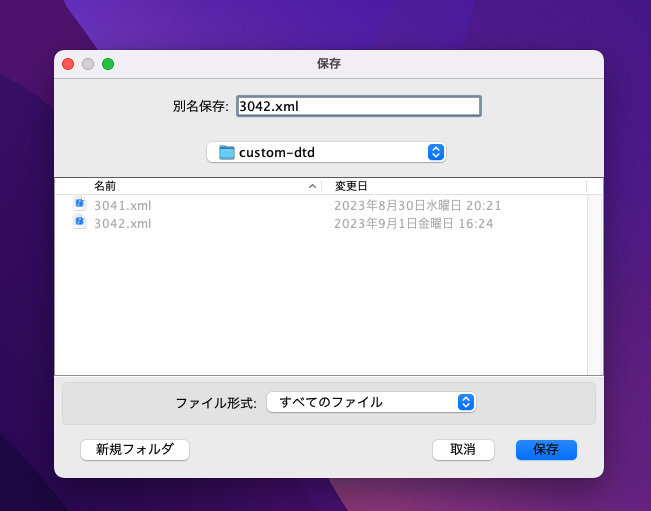 With that, the output and saving of the XML file are complete.